Monday, October 3, 2016

Kolin. The refight with Maurice: Part II, the Battle


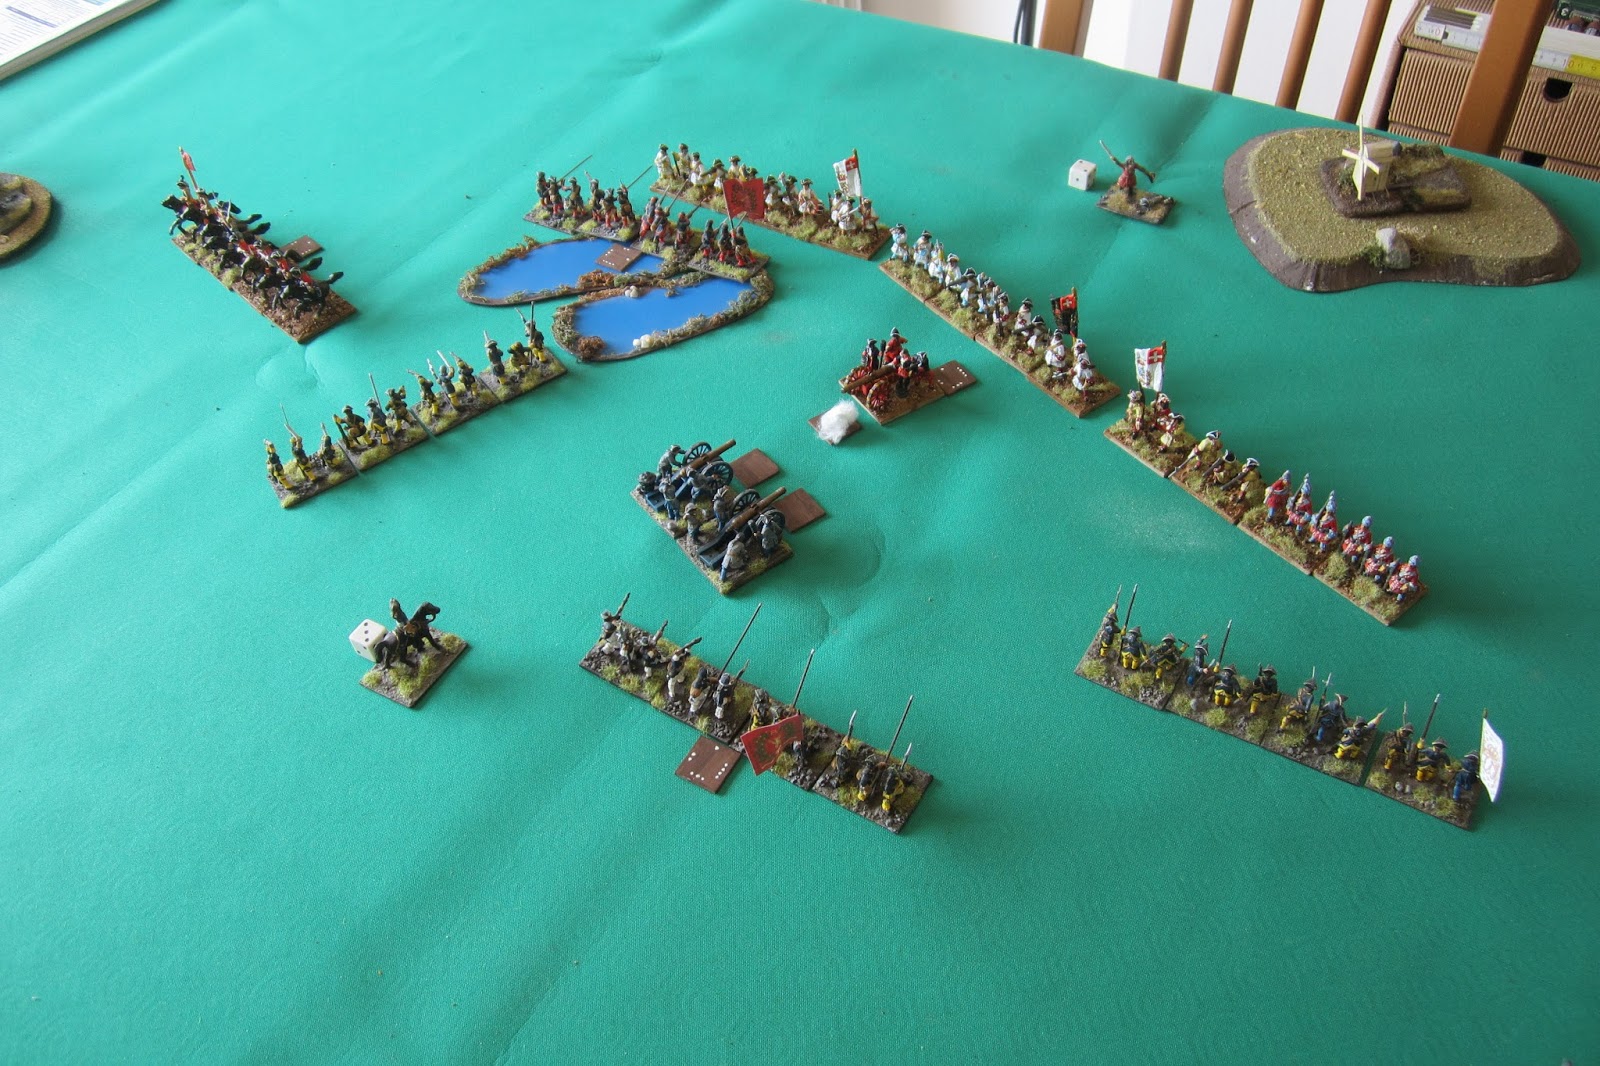
An overwiev of the starting positions with place names:


The Prussian moves the cavalry in the plain to his left and attacks the Austrian right wing cavalry. This starts a see-saw battle which runs for some turns.


In the following picture an example of how a tipical Combat works: Prussian cavalry C engages Austrian cavalry A. Prussian cavalry D engages Austrian cavalry A and artillery B. D is not outnumbered because A is engaged also by C:


The Austrian response is two-fold: move aggressively their left-wing to distract the Prussian and send two cavalry units to the menaced wing. 
The main Austrian problem appears at this stage: the front is huge and to activate a force on the wings a lot of activation points is needed. Five cards are very few. The Austrian has indeed a real command crisis which requests a couple of Pass to be fixed.


In the meantime the Prussian presses the cavalry attack which is unsupported by infantry: the volley fire from the Croats garrisoning Kreckhorz disrupts most of the attack.


The leading cavalry unit panics and retires backward, disrupting itself and another unit (the cunning Austrian plays “Confusion!”). Behind their cavalry the Prussian columns move to wheel to their right and aligns in echelon, whereas the Austrian cavalry reinforcements with a back-breaking cavalcade arrives on the right wing, taking Disr in the stream crossing.


The Austrian is forced to spend a card to move Daun where the action is:


The final Prussian cavalry push is confronted by the regular infantry unit which advances in front of its cavalry to stop the Prussian. (A “Passage of line” card is welcomed for such a move). 


The subsequent volley fire take an huge toll on the Prussian cavalry, whose remains, to make room for the infantry attack, are retired by using a “Retrogade” card.


There is a lull, in which both armies plays either Pass or an Event, to replenish the card pool for the incoming main phase of the battle. The terrain, already wet, was reduce to a quagmire by the repeated cavalry charges. At least this is the effect of the Austrian plays of the most-dreaded Maurice card: “That’s not on the Map!” and in a very Prague-like fashion the two elite infantry units find a big patch of very soft and wet terrain in the direction of their planned advance.


Nevertheless, Frederick moves towards the area and finally orders the whole infantry of the left and center to advance towards the Austrian position. This is intended as the attack that will break the Austrians: unfortunately, as we shall see, this attack shall broke the Prussians.


This is the crisis of the battle, but not that intended by the Prussian. In the ensuing firefight, the Krezchor garrison and a regular infantry are destroyed but subsequently bad rolls and cleverly played cards destroys two prussian units of the center. The leftmost elite units wins their fights but remain stranded with the back to the swamp and loaded with Disr results.


The cards are running fast from both sides and the Morale becomes low: 3 for the Prussian and 5 for the Austrians (the rule which make the morale loss impredictable worked very well to bring both armies on the verge of exhaustion )
At such a point the Austrian centre counterattacks “a là Torgau”, whereas the cavalry reinforcements on the right wing awakens too and attack their Prussian counterparts (The austrian played “Coordinated”). The heroic death in the heat of the charge of FML Graf zu Wied inspires the Austrian soldiers in their attack. (the Prussian plays “Death of an Hero” reduceing the Austrian morale to 4, but the Austrian plays “Rogues! Do you want to live forever?” bringing it to 6): such a combined attack breaks the Prussian morale.


The battle is lost, the Austrians too tired to engage in pursuit, and the remains of Prussian army stream in some kind of order towards Prague along the Kaiser Strasse, their right wing still uncommitted. (All of this was obtained with only 1 Card Deck, which finished exactly when the Prussians broke).


It was smooth and fast play, very interesting and with only a modicum of book-keeping. In the next post I will write my analysis of the refight with these Rules and some comments.


Sunday, October 2, 2016

Kolin. The refight with Maurice: part I


Fresh from a Maurice solo play I decided to start the analysis of the battle of Kolin from that Rule. I shall use my 6mm collection based for Volley and Bayonet on 3”x1.5” bases.

To represent a unit I shall use 2 bases: no problems for the line and massed formations; to depict the column I simply shall put a paper arrow on the line.


The BW is 1.5”=3.75 cm, accordingly, since the Scenario calls for a map 40BW x 30BW, the playing area shall be of  150 cm x 112,5 cm (60”x 45”). Since my table is 100cm x 200 cm, I shall left off 12.5 centimeters from the Austrian side.


My hills collection didn’t comprise the big hill suggested by the Official Scenario, so I get it by assembling three smaller hills. The ravines simply doesn’t exist, the only problem will be some awkward deployment.


In the pictures the river toward the west is still missing. I didn’t represent the Kaiser Strasse since in the real battle didn’t played a substantial role.


The Austrians: 2 Irregular Infantry (Croats), 1 Elite Infantry (Grenadiers), 8 Trained Regular Infantry (IR26/IR2, IR56/IR21, IR59/IR50, IR31/IR42, IR7/IR12, IR 38/IR27, IR3/IR17,  IR8/IR20), 1 Elite Regular Cavalry (Carabiniers and Horse Grenadiers), 6 Trained Regular Cavalry 2 Hussars (HR 34/HR32, HR 2/HR11) 2 Dragoon (DR19/DR31, DR38/DR28), 2 Cuirassiers(CR12/CR(iii),CR26/CR14) and 5 Artillery, Morale 18. The national advantage is Skirmishers.   

· I tried to display most of the regiments which took part to the 
  battle, but some aren't in my collection which is based on the 
  Torgau OoB; the Bridge equipment and the carriage represent 
  the Prussian Objective.


The “bad boys in blue”: 2 Elite Infantry (GB 35-36 ,9-10/GB 5-20 , 33-42, IR15/StGB 1-GB 21-31), 5 Trained Regular Infantry (IR26/IR30, IR21/IR17, IR41/ IR35, IR20/ IR7, IR22/IR25), 1 Elite Regular Cavalry (CR2/CR8), 4 Trained Regular Cavalry, 2 Hussars (HR4/HR6, HR2/HR3), 1 Dragoon (DR3/DR11), 1 Cuirassier (CR1/CR12) and 3 Artillery, morale 14.

The national advantages are Great Captain, Steady Lads, Lethal Volleys, Oblique Order.


The initial positions


The sun of Kolin enlightens the Daun position; the infantry center with the croats in the two towns and the grenadier corps in reserve on the hill:


The left cavalry wing: 


The prussian deployment seen from the austrian position


and in detail:


The Prussian plan is more or less historical. Since the Austrian left wing has a powerful concentration of cavalry, the Army shall attack the right wing. The cavalry shall cover the infantry deployment and then, by using the various national advantages and the 10 cards the prussian left wing shall roll the Austrian position.


The Austrians are ready to defend, counting on the superior artillery, sheer number, and on the vicious cavalry counterattacks.

The Armies are ready, the battle can start.

Thursday, September 29, 2016

Some Swedish


Still waiting for the Mars box, I decided to paint some more Swedish, using the Strelets boxes.


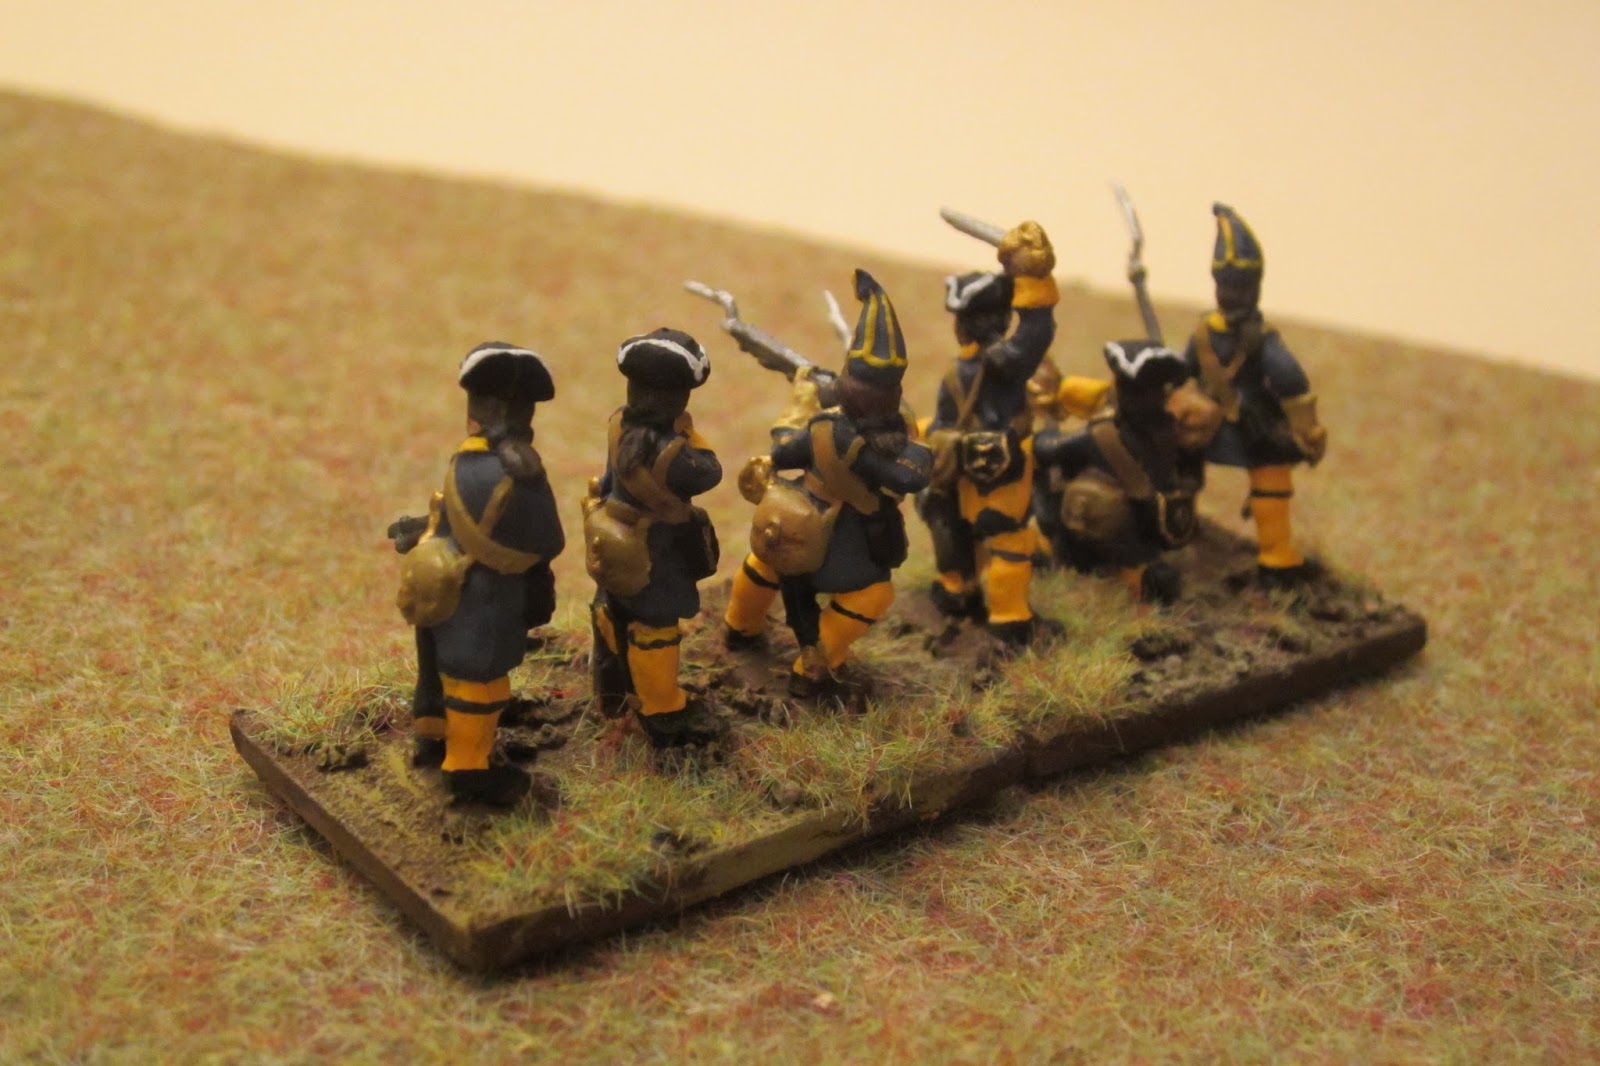
The first unit is the Sachsiska Regiment (Schommer), raised in 1707 with Saxon prisoniers from the Battle of Fraustadt. It was a purely muskeeter regiment; in 1718 the grenadiers wore the mitre cap, so I depicted a couple of  miniatures in such an attire. It is a way to use the countless grenadiers present into the Strelets box of Swedish infantry, in fact. The regiment was disbanded in 1721 and fought with distinction at Helsinborg and in the Norwegian campaigns of 1716 and 1718.


The other two units are cavalry. By the way the Strelets Swedish Reiters have the cuirass, as already noted on the post on the Danish cavalry. So they are pretty incorrect when one want to depicts the Swedish horse. Of course one can simply paint the coat over the cuirass or in alternative use the Swedish Drabants from Strelets without painting the lace. The problem with the Drabants are the shabraques. So, after having used a cuople of horse to make the Drabants base and another three to made General Officer horses, I was left with a bunch of horses with wrong shabraques. No problems at all: knife and Green Stuff, and we get the correct saddle.


The first regiment is the Adelsfana och Sverige i Finland, the oldest horse regiment of the Swedish Crown. Here is the “middle war” blue uniform with blue lining. Captured at Poltava, rebuilt and present at Helsinborg.


The other regiment was not at Helsinborg but I did it mainly to use the kettledrummers from the Swedish Reiter box. By using the Italaerei Mameluks head I obtained the Pommerska Dragoner kettledrummer, a moor whose name was Karl Johann and which is on the cover of the first edition of L.E. Hoglund book:


This is the result I obtained. However, I didn’t modify the kettledrums, I liked the original sculpt indeed.


Saturday, September 24, 2016

More Danish for Helsinborg


There were 3 Dragoons regiments at Helsinborg.


Livdragoner. The sources gives either green or white cuffs and lining. I went for white because I like the combination.


Bulow (Ungarske) Dragoner. This regiment was in service of Austria during the Spanish Succession War. There are many uniform variants, I went for the one with blue cuffs and lining. The cap was a typical “croatian” item: however I went for a regular tricorne which could be also in use.


Själland-Fynska Land Dragoner. Also this regiment has at least two variants known: one blue with white cuffs, the other in gray with blue lining. I choose the latter because I realized that none of my Danish cavalry regiment was in grey.

To complete the infantry I need one more box of MARS Saxon Infantry. Since my local seller was run out of the item, I need to order one box on the Web. In the meantime, by scraping the “bottom of the box” and with some help from the MARS Swedish Infantry, I was able to finish the Marine Regiment.


Also this regiment has many uniform variants grey with white or blue cuffs, red with yellow cuffs: by the way, the one with the red coat was probably a mistake of the “Swedish spymaster” which mistook the red cloack for a coat.  I decided for the 1695 uniform, grey-white with white cuffs and stockings since I liked the idea to have such a combination.


Danish Artillery. The gun is from Revell TYW Artillery. By the way the Strelets Swedish Artillery box allows for some nice scenette. Here the Officier is looking towards the enemy lines and the gunner with the sponge is probably asking himself what the hell he is looking for. The other two gunners, in the meantime, are minding they own business….


The red gun carriage are known for the Norway army: however I used the combination also for the Danish, since we have no clues for the carriage color.

Wednesday, September 21, 2016

Maurice playtest: part III.


The Swedish develops its attack, using “Passage of Lines” to interpenetrate its artillery without being disrupted. Four brigades move towards the Danish line.


The Danish conforms its line in a concave manner to maximize its fire,


and “stealing” the volley phase to the Swedish hit the leading trained brigade with canister.


In its move the Danish plays the card “This was not on the Map” and places a swamp straight in front of the Swedish leading brigade.


The swedish, undaunted, moves its artillery in front of the infantry and during the volley phase shot with cannister the Danish artillery, using “Whiff of grape”.


At this point we leave the narration to a contemporary witness: 

“The young Hereditary Prince of Denmark was with the Army. Despite the advice of the courtier, the young man was riding in front of the infantry when, suddenly, a cannonball beheaded him. Great was the shock for the death of His Highness and the soldier, as well as the Officiers were deeply demoralized, the High Rank officers speechless by thinking at the King rage”.

The Swedish play “Death of an Hero”, roll a 6 (even) and the Danish morale lower to 2. (I used the morale definition and the morale losses of the Lite version, so any unit which breaks is a loss of one point of morale. So the Danish army is only two units to the morale breaks).


The Swedish press on with the infantry attack, taking punishment by the Danish volley fire in the process. At this point the Danish charges with its right wing cavalry the Swedish cavalry, playing “Stirrups In”. The attack breaks the enemy cavalry: 1 morale point lost for the Swedish.


This result forces the second line brigade to wheel to confront the Danish cavalry, putting the whole Swedish attack in disarray:


in the following volley phase the Danish cavalry is fired by enfilade and breaks: only 1 morale point remaining; however in the firefight the “Lethal volley” advantage is taking a toll on the Swedish infantry, with the two most exposed brigade with 3 Disr each.

885

To make thing worst the Danish plays “Confusion” and the supporting brigade, after having broken the cavalry, get lost “à la Roos”.


But, when everything seemed lost for the Swedish, the Danish artillery is destroyed by cannister and the Army Morale breaks. The destruction of two swedish brigades by volley fire is useless, the Swedish retain 1 Army Morale points and win the battle, with one brigade of infantry and one of cavalry still fresh and uncommited.


We leave again the narration to our witness: 

“Our infantry, with a continuous and precise fire broke the swedish attack. However the Generals were deeply depressed by the Prince death and the soldiers were scared by bad omens. So after a Council of War the Commander decided to let the Swedish army escape its punishment and ordered the retreat, which was done with composure and order, in a gloomy mood”.

The “butcher bill”: 3 Swedish units to 2 Danish.


To summarize the result, I find the Rules easy to understand and the play was smooth and very funny. To the question: “Is it a good historical simulation”, the answer is manifold. First of all we have to decide what is historicity when we move miniatures on a green cloth. In any case, the rule renders the “chrome” of a XVIII battle well enough, with an ebb-and-flow tempo: of course a modicum of role-playing is part of the game. To give a more precise answer to the question I’ll play Kolin with Maurice and with Volley&Bayonet (the same can be done with Might&Reason) to better grasp the pros- and cons- of the two different simulation.
It was a funny replay and Maurice from here to now on will stand together with V&B in my Rules Pantheon.